Back to Basics – Be Creative Shooting JPEG
- Simon Pugsley
- Jan 12
- 4 min read
Many photographers, both hobbyist and professional, choose to take photos in RAW format because it provides a flat image file from which they have full control over the editing process. But what if you don’t want to post process?
Taking photos in JPEG only, the camera decides how best to process the image based on settings chosen. If you have these on default, you may be limiting your creativity. Getting the settings right in camera is more important when shooting JPEG; White Balance will influence the warmth and tint of the photo, Aperture - the depth of field and light, Speed - motion and light, ISO - boosts the light signal.
But there are other factors that influence how your camera processes the JPEG which you can control through the dials and settings in the camera menu system. Effectively allowing you to pre-process your photos.

The extent to what you can influence will depend on the camera/ phone brand and model so it's worth having a look at what you have, and experiment. If you have a vision of how you want an image to turn out, amending some of these settings in camera may help.
This example was taken in a dimly lit building, I liked the stains running down the walls which looked a bit gory with the tomb lids below. Choosing an impressive art filter from the scenes available in camera increased the dynamic range and contrast and produced an overly punchy image of a horror scene, which would have been near to what I would have wanted to produce in post editing had I just taken a RAW file. Using a Bleach filter or simulation would have given me a similar result but less saturated.
Composition
Some cameras have the options to choose the aspect ratio, 3:2, 4:3,1:1, and 16:9 are popular options. Choosing the right aspect ratio will enable you to see the scene as you want to show it and save you cropping later.
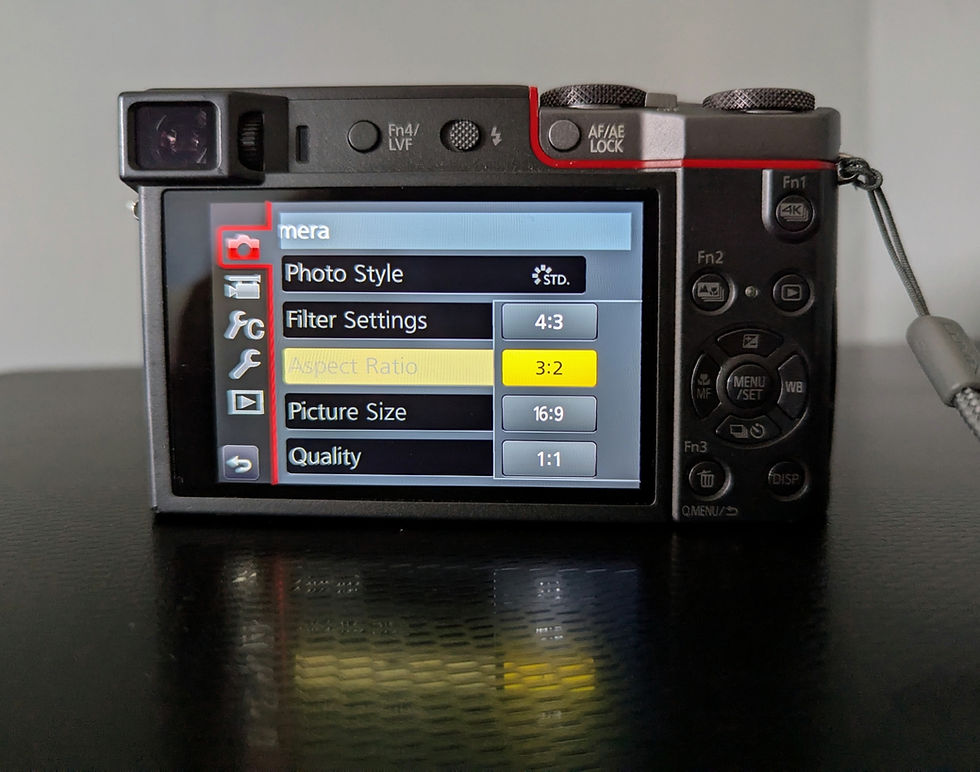
White Balance
The different white balance options are detailed in the Back to Basics – White Balance blog, additionally some cameras will allow you to refine colour balance allowing you to increase/ decrease reds/ magentas, greens, blues, and yellows.
Scenes
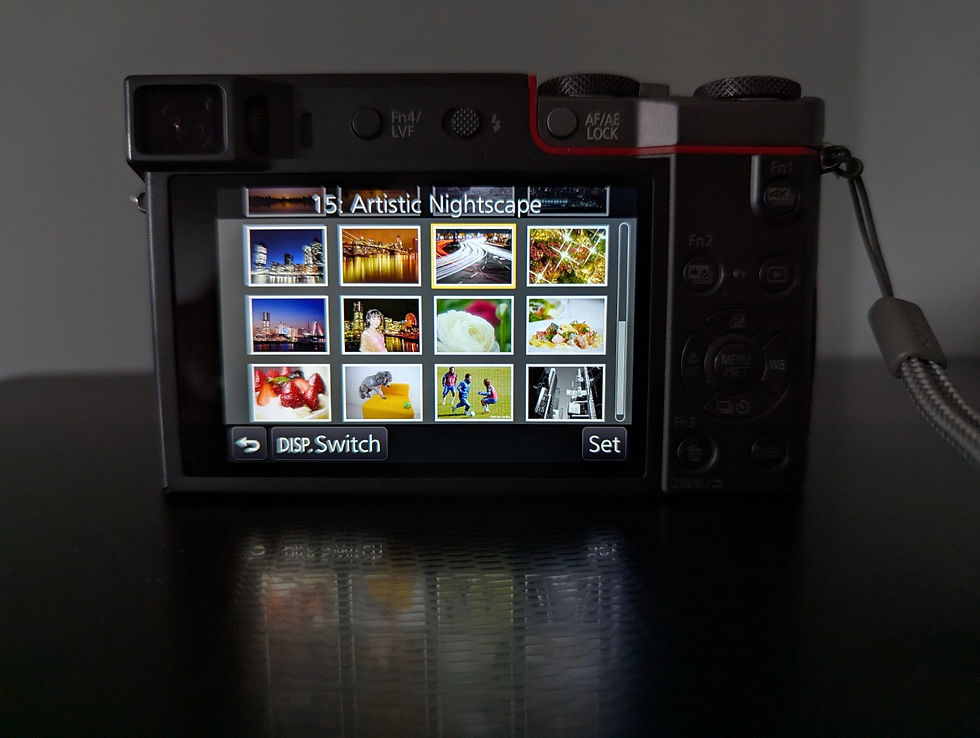
Landscape, Portrait, Natural and Monochrome are fairly standard across brands with each scene having a different contrast, sharpness, and colour/ saturation boost/ reduction. These can also be used to protect highlights e.g. Natural has less contrast. Additionally, you may have the option to amend the contrast, sharpness or saturation either against a scene or create your own custom setting. Monochrome will allow you to choose a filter e.g. yellow or orange to boost contrast.
Some brands (mainly in compact cameras and phones) have a lot more scenes including nighttime, candlelight, fireworks, snow, pets etc. Although the ability to amend these further is limited.
Simulations
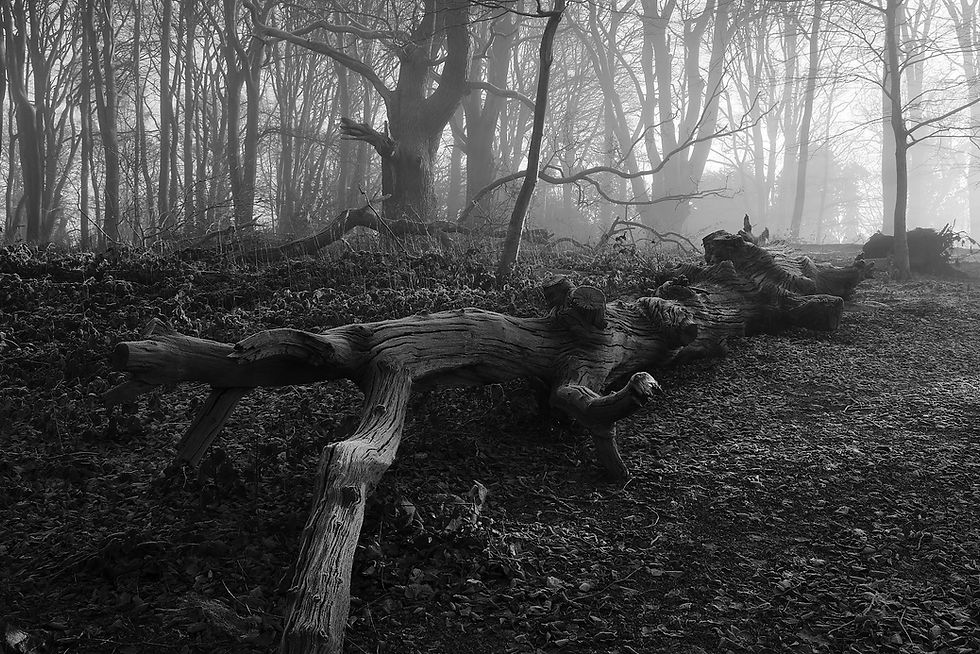
Fuji is noted for its film simulations with Classic Chrome, Classic Neg, and Acros Black and White among others providing a certain film look. These can be used as a base profile and amended, in a similar way to scenes to create your own custom “recipe”. Other brands have similar simulations but maybe under Filters e.g. Bleach or Chrome.
Filters (in camera)
These are things like Retro, Miniature, Toy, High Key, High Dynamic Range, Bleach, Pop etc, and can seem a bit gimmicky, but these can be great when used to create a certain look. Toy for instance on my Panasonic compact camera provides an increased vignette, which comes in useful if I want to emphasise my subject. In the example below I selected to shoot RAW and JPEG so you can see a comparison of the applied effect.
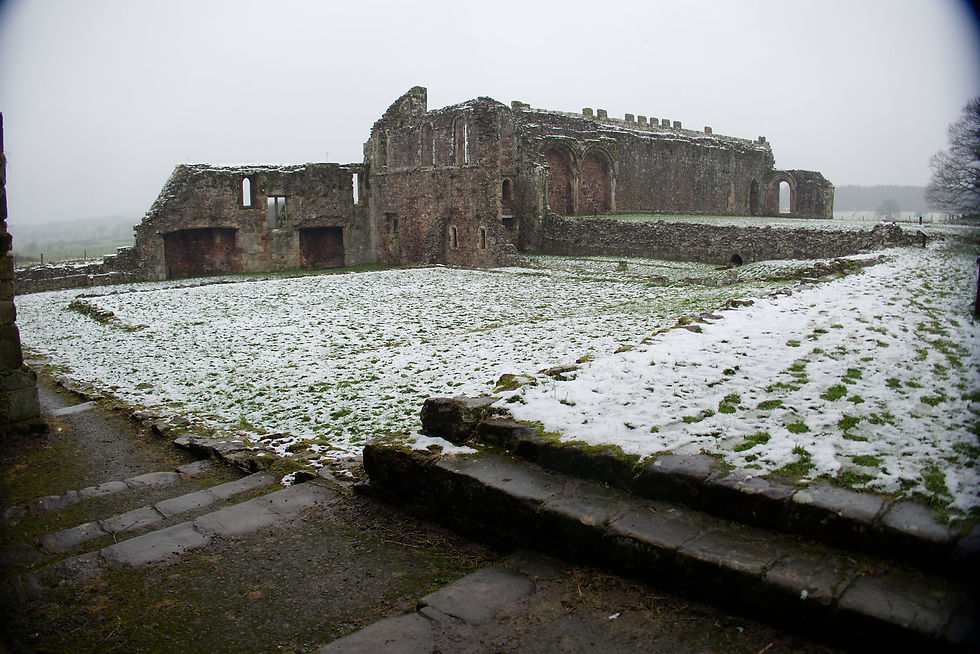
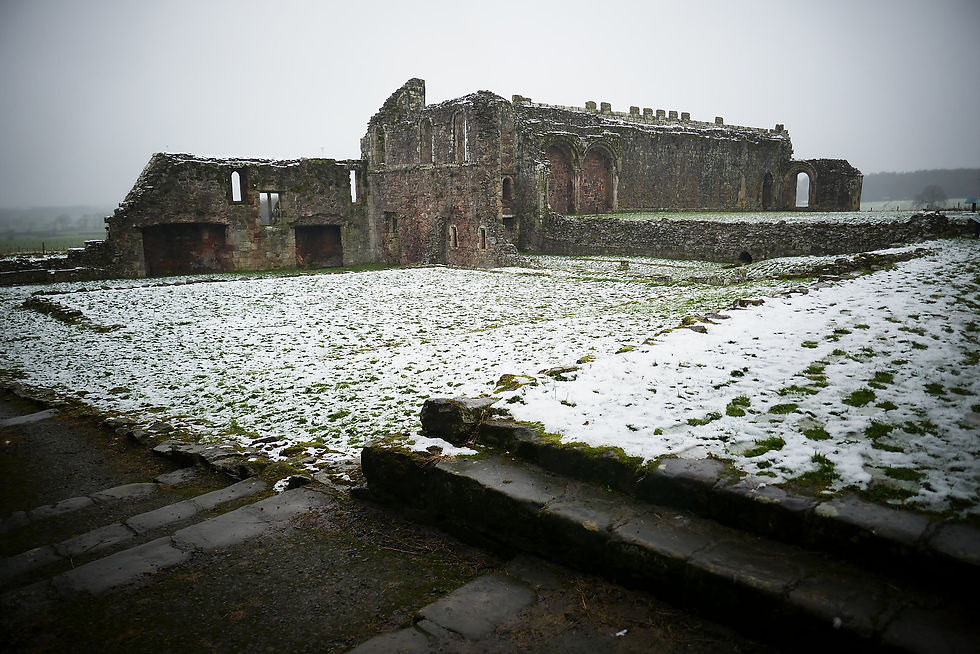
In this image the camera has corrected the distortion of the lens to remove the lens vignette and has applied a more graduated vignette and a stronger contrast.
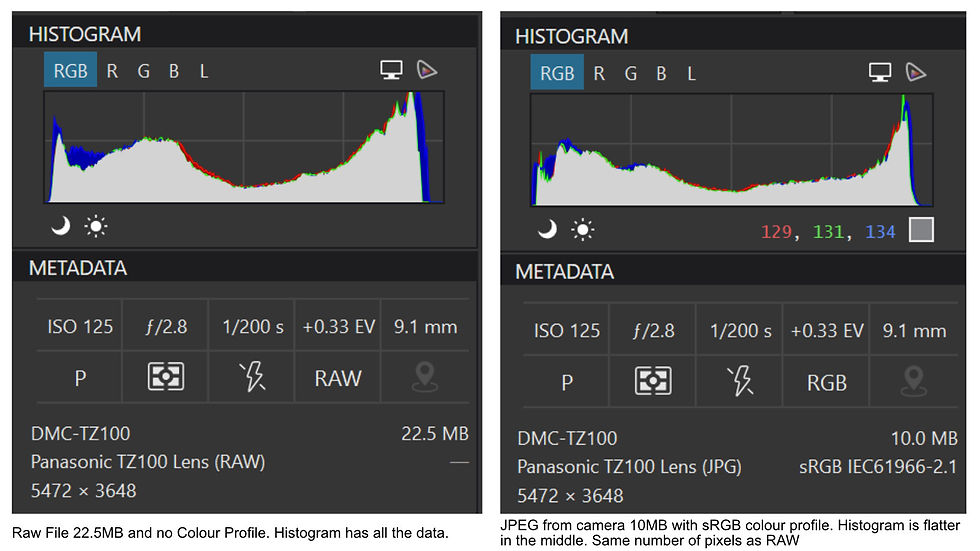
The histogram of the 2 files shows the differences, with the JPEG having more contrast between the highlights and shadows.
Multi Exposure
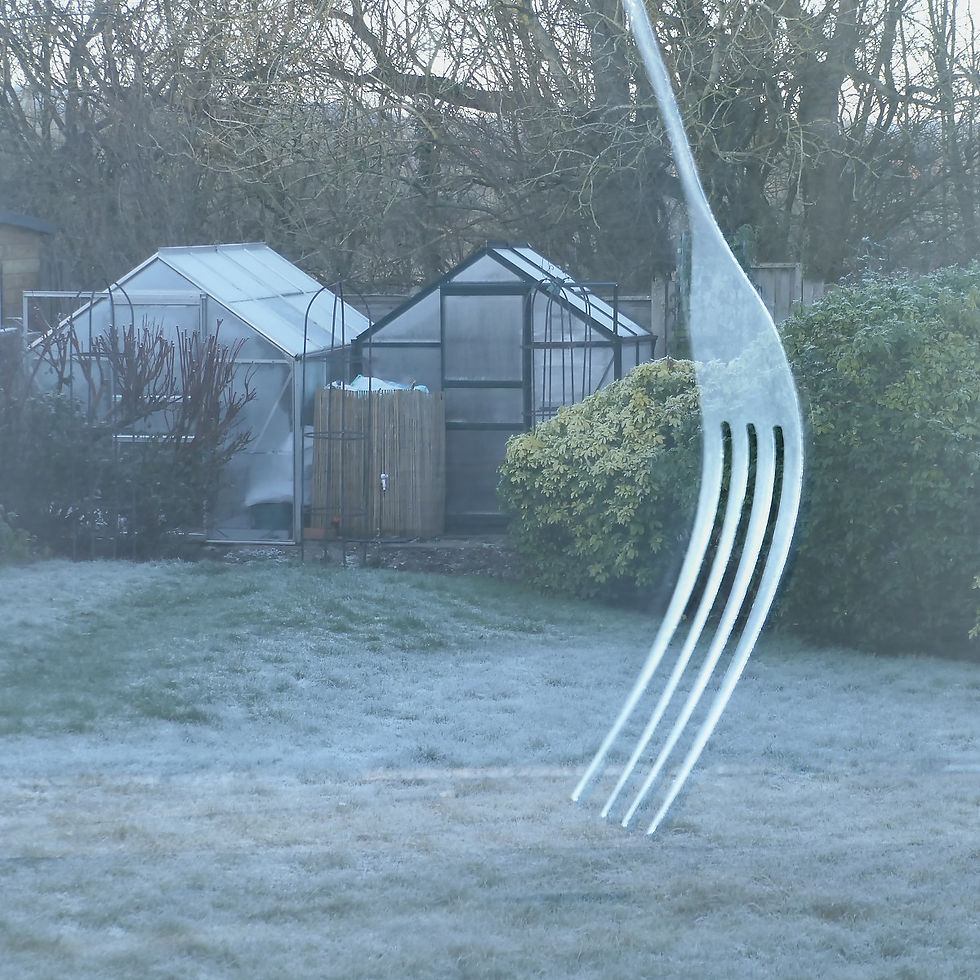
Some cameras and phones allow you to capture multiple exposures in one image, with the camera outputting the result in JPEG. These can be quite effective for some abstract images. It takes a bit of experimenting, but I think shots with a fair bit of contrast may work better.
Sharpness Contrast and Clarity
Some DSLR and Mirrorless systems have these as their own menu setting outside of what was mentioned under scenes but should be used lightly.
Lens Filters
Finally, remember those lens filters you bought ages ago, the ones just sitting in the drawer? You can always get your polarizing filter or neutral density filters and control highlights/ mid tones or do some long exposures straight to JPEG.
Summary
We have a lot more creative choices when taking JPEGS, so it's worth revisiting your camera menu systems to see what you can influence to pre-process your photos. Most settings can be used in conjunction with each other, although in camera filters and the extended scenes may limit this. Just go out and experiment, it might save you a post processing job later!


留言