

Adding Texture for an Art Effect
- Simon Pugsley
- Aug 7, 2024
- 4 min read

During my first year at the photo club, I attended a guest speaker event who provided tips on photography and image processing techniques. Before joining the club, my experience was mostly wildlife photography with a minimum of lightroom equivalent processing. So as our guest speaker talked through his images, I was taken aback at the number of photos he added textured backgrounds or changed the background completely using other photos to create a new image.
Having had my horizons broadened whilst at the club, I now appreciate the difference between a photograph and an image. Some photographs require additional techniques to portray the mood or context the photographer wants to express through a final image. I’m still not having sky replacement though!

My Project
Having recovered from my initial shock, the clubs My Project challenge provided me the opportunity to create images using some of these techniques.
I chose Textures for My Project, with the aim of creating images using a photo of texture as a layer on each photo subject, to create images with a painting/ art effect. Additionally, I wanted the textures to be in context of each photo.
Choosing Textures and Subjects
I thought it would be easier to take photos of textures and then find a main subject photo I already had saved to suit. I took photos of things in the house and garden I thought might work well.

The Process
There are many ways to achieve this effect, even the same techniques in different orders produce different results, it’s very much a test a see. There is no right or wrong way if the final image is as you wanted. This is how I achieved my effect.
I used Affinity Photo editing software, but this could be achieved in other editing software that allow layers. Even in the free mobile app Snapseed (more on that at the end).


First, I import both the subject photo and the texture photo into the editing application. Whilst my subject photo had already been processed and was in JPEG format, I wanted to achieve a painterly style, so I applied an Orton effect.
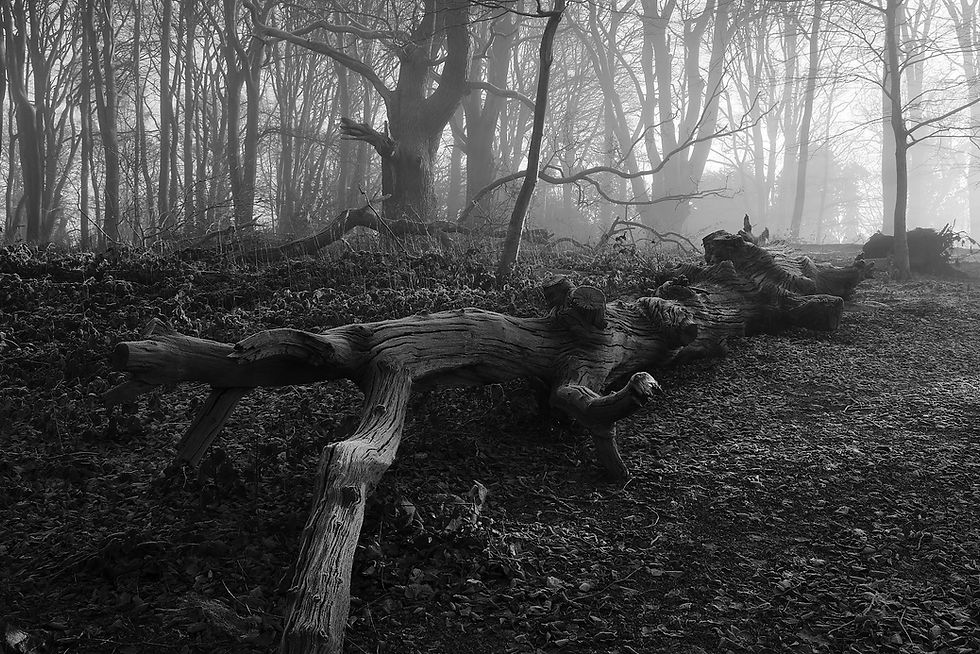
The Orton effect is well used by landscape photographers, particularly woodland scenes, and I also use it for my astrophotography. The purpose is to create a dreamy effect whilst keeping your subject sharp. Again, there are many ways to achieve this and any number of “how to” videos on YouTube for your editing application. I duplicate the image so I can go back to the original if needed, then add an Adjustment Layer to apply a Gaussian Blur about 30 pixels, then add another Adjustment Layer for Levels, increasing both blacks and whites by 15-20%. At this point the image looks bright, dark and very blurry. Merge the visible layers. Then hide the Gaussian Blur and Level Adjustments layers. On the Merged Layer reduce the Opacity to anything between 15-30% to produce a kind of glow / dream effect. The subject photo is ready.

Next, I processed the textured (towel) photo. I found it best to reduce the saturation a little so not to impact the main photos hue. I also add some contrast to emphasize the texture. Copy the processed textured image and paste onto the Subject image. You can have it on top or below the Orton Effect layer. If the photo sizes are different you may need to resize one to align them. Its then a case of adjusting the opacity of the texture photo and/ or the subject photo to get a look you want.
Additionally, to bring more of the texture out I applied some tonal contrast (local contrast or micro contrast in other apps) at the end, then save/ export the final image.
And that’s it!

This process took about 5-10 minutes in total. I’ve never been entirely happy with the original boat image, but adding texture has made it a better image in my opinion.
Using the mobile app Snapseed
I thought I try the same effect using Snapseed, it’s a powerful and user-friendly photo editing app for your phone (Android and iPhone), it can even convert raw files. It took less than 1 minute to achieve a similar effect!

In the app, add your subject image from your phone/ online library. Select Tools and Double Exposure. Add your texture image (I added the stone slab), then use the Effect Type to choose the effect (I chose Overlay) and the Opacity balance slider to get the mix right. That's it!


Conclusion
Having completed My Project, I found it a useful exercise and there will no doubt be occasions when I have photos like the boat one that need something extra to enhance the image. Whilst I blended the texture to the whole subject image, it is possible to use the selection brush tool and apply the effect to specific parts of the image, i.e. the background. Trying these techniques is a good introduction to using layers in photo editing if you’ve not tried before. There are lots of resources on YouTube on the Orton effect, blending images, and layers. I find https://www.youtube.com/@RobinWhalley a good resource and he covers most of the photo editing software out there.
I’d also mention that the Guest Speaker mentioned was Peter Gennard from Smethwick Photographic Society, who returns to our club on 9th September 2024 and will no doubt have more shock and awe processing technique tips for his next brew of PG Tips!


Comments